Saturday, October 22, 2011

I Sew Other Stuff, Too....

From time to time, my sewing projects are things other than garments worn by me or my family.  I am happy to share a sewing project that should take an hour or two of your day and allow you to let off a little steam after a lengthy and complicated project.  With the recent release of the new McCalls Holiday Collection patterns the blogosphere was all abuzz.  I had also received my McCalls e-newsletter, and wanted to stop a moment to share what new things I noticed when I clicked on the link. 

I drooled over the new pattern for 18" doll clothes (aka the American Girl Dolls line)!  Those clothes looked so cute and up-to-date, I wished my niece was young enough to still play with the American Girl doll I bought her when she was 7 or 8 years old.  She is older now, just out of graduate school, yet she remembers getting that doll as a present.  I might have to find some naked 18" doll to sew for!....lol

I liked a few of the new Misses party dresses I saw in the collection, but I grinned when I saw that McCall's added a new pattern by one of my favorite patternmakers.   At the very end of the new pattern group was the cute little photo below....  This hippo and elephant pattern are examples of the animals from Carol's Zoo!  I met Carol as a vendor at a quilt show many years ago.  I am delighted to recommend her fun, unique and superbly-drafted patterns to you.  This lady has found a way to draft these animals with as few pattern pieces as humanly possible.  After taking the patternmaking class at the local college, I was amazed at their construction!  You will be, too!
McCalls 6484
Photo courtesy of McCalls.com


I was so excited to see Carol getting the recognition she deserves!  I have made the hippo from a tapestry fabric and used a coordinating tassel for his tail. He is soo cute, and made from 3 pattern pieces!


Last year, I made her mouse pattern (only 2 pieces!) in 90 minutes and was so pleased with how little time it took and how ingenious her pattern was.  She has designed an entire zoo of different animals, most of which have less than 4 pieces, and I encourage you to visit her shop while she is offering a 25% discount for any of her specially identified "pink" fur in honor of October's Breast Cancer Awareness Month.
 
Carol is a cancer survivor, and is such a nice woman, I would love to have her meet all of you and introduce you to her as a great source of beautiful and unique faux furs, excellently-drafted animal patterns, and lots of safety-designed eyes and noses for your stuffed creations.  She sells the patterns alone, but also has kits with everything you need to make a mother and child of each animal.  Don't forget to give her a look-see!

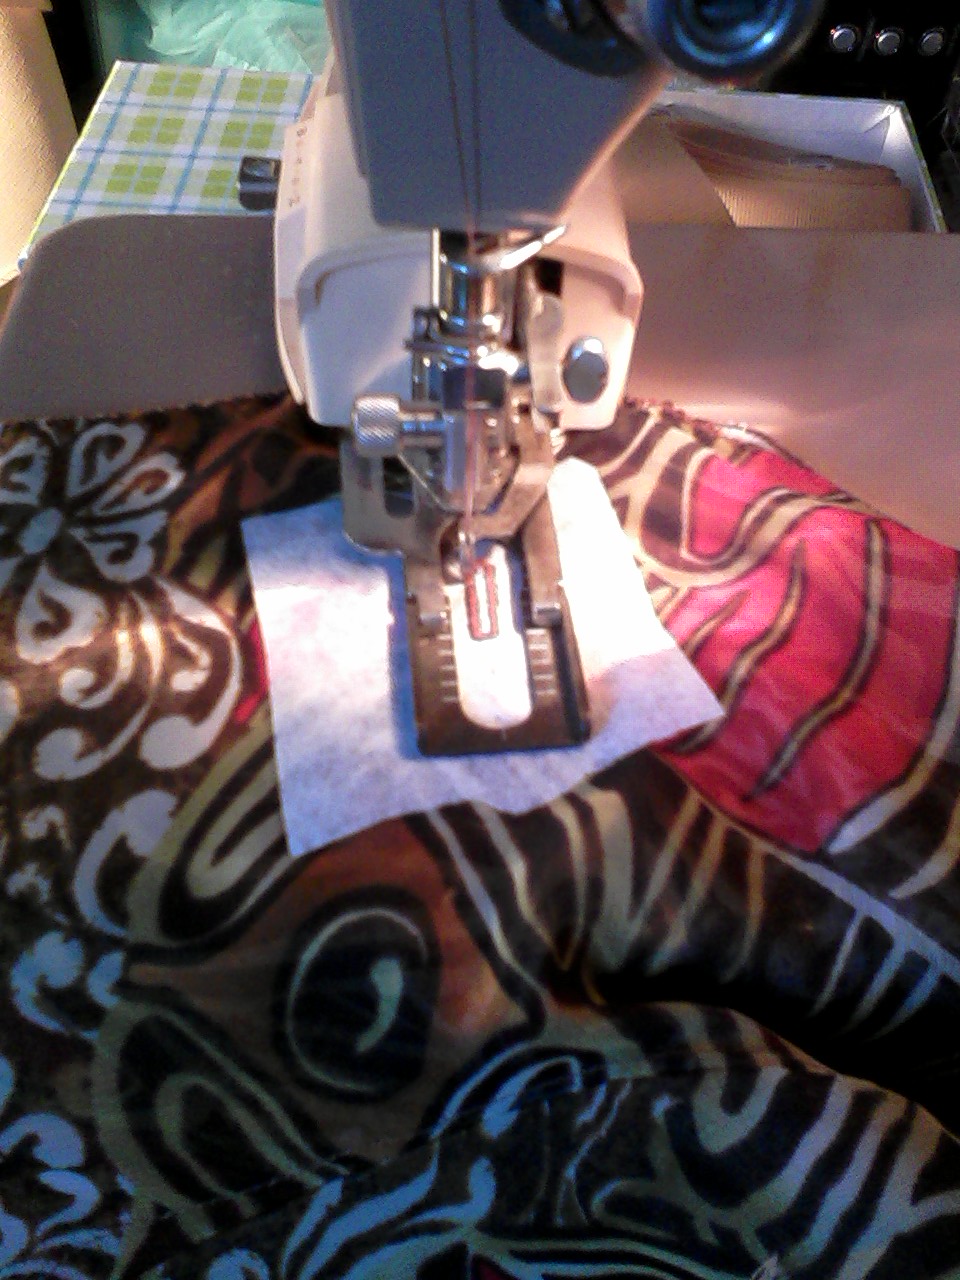
Look at the mouse pattern below for the mouse I made last Xmas:

Mama Mouse and Baby Mouse
photo courtesy of Carolszoo.com
 And, below is a picture of my grandson, the happy recipient of a new friend.  What did I do differently?  I put pipecleaners in his tail and filled his body and head with buckwheat shells from an old pillow I had.   He has enough heft in his bottom to sit, hold up his head and not fall over.  His whiskers are extra-long lengths of overwaxed black carpet thread.  I believe he has been named Eek, and I am more than delighted to see my grandson still has him (and his camouflage ribbon) when I requested a picture of them!  I loved making it!  Only one hour to create such delight.  Grandmas live for these moments!


Baby Mouse in Dining Room Early in the Morning


Baby Mouse Named Eek and my Grandson


Thanks for stopping by...! 
and keep stitching....one stitch at a time!

Tuesday, October 11, 2011

Fabric Selection is Key....


The journey toward the completion of this project went awry due to my inattentiveness to the "suggested fabrics" printed on the back of the pattern envelope.   This garment stalled because the weight of the fabric I chose affected the garment's final finishing touches.  Let me first confirm what the suggested fabrics for the top were:  charmeuse and crepe de chine.  I knew what both fabrics were, having worked parttime in fashion fabric stores (and sewn) for many years. I bought a beautiful piece of yardage from Gorgeous Fabrics I thought would be great and began the project.   (Thank you, Ann!)
Vogue 1039

I usually study a pattern before I begin to sew and I mean study---not just look at.  If I understand all the steps, the instructions become a guidepost to the sewing process and are referred to as a reminder of the construction sequence.  My sewing improved the minute I adopted this practice.  I definitely caused myself problems if I started to sew something when I didn't fully understand the instructions.  Nothing is worse than looking at the instructions in Step 'x,' and not understand what on earth they are asking you to do!  Hate it!  

During the time I spend studying the instructions, I make notes on the instruction sheet of the places where I plan to add or change a design feature or sewing technique.  I make written notes for things like label placement, where and how I plan to finish seams, how I plan to transfer the all-important dots, squares, and triangles (both large and small) from the pattern to fabric, and what colors will represent each shape.  Often I use different marking mediums; choosing between the chalk, crayon, tracing paper and/or tailor tacks that could all appear in the same garment.

My goal when I sit down at my machine is to change threads between the straight-stitch and overlock as few times as possible.  I sew in what I have learned are called 'units.' I begin with completing all the stay-stitching (or doing double-rows of gathers), attaching interfacing, then end by finishing all the seams.  Any foundation or detail work is usually done next (thread tracing, basting, pad stitching, welt openings, bound buttonholes, etc.).  Depending on the type of garment, these steps vary.  When I can put all the 'units' together without having to stop to baste, interface or pre-finish anything, I really feel my sewing session has been productive and it appears as if I accomplished a lot.

Because of how I work, my son has always thought I was an amazingly fast sewer.  He would wake up in the morning and he would have a new shirt after seeing a stack of fabric beside my sewing machine the night before.  He had no idea there was a lot of 'pre-work' being accomplished before he noticed the garment in-process.  I didn't think he was paying any attention!...lol.  This myth was uncovered when I began sewing Halloween costumes for my grandchildren.  He now knows how much time and love is invested in a Mom-made garment.  I had that superwoman illusion going for a loooonnngg time, didn't I?!  psssst...he'll be forty as of this Sunday!!!...((grin))  Happy birthday, son!

Neckline View
Bosom Toward Toes on Dressform
This pattern was categorized as being "Advanced/Plus Difficile" as far as Vogue's skill level estimates go.  I wouldn't say it would be more accurately described as 'tedious.'  This squared-neck tunic has 10 pieces; which I should have recognized as the first indicator it was going to challenge me to carefully handle the bias edges, tiny pleats, and gathered strips that are part of the design.  My disappointment has to do more with the way the neckline's pleated yoke was made unnecessarily complicated.  If I were to remake this garment, I would definitely re-draft it and omit the yoke's pleats.  This design has the front and yoke facing sewn together and finished with understitching at the neckline edge.  The pattern then instructs you to make the three box pleats in the front.  Next, the instructions say to stabilize the pleats at the front neckline (the three pleats can be seen in the picture above) by centering and stitching the pleats at the top neckline edge and again about 3 inches away around the yoke bottom.  This top almost became a wadder right here. 

The beautiful fabric I had selected was to lay smoothly at the neckline, and the top of the pleats were to be kept stationary by topstitching through all six layers of the pleats in the front and continuing on around the three other sides of the neckline.  You know I complained to myself, "There must be a better way!!!"  This was where I realized my fabric would not lay smoothly or appear as a single layer because it had much more 'body' or 'heft' than the fabric pictured on the envelope.  Well,....I thought about picking the yoke, front and pleats apart, removing the yoke facing pleats entirely and encasing pleats at the neckline in a neckline seam with the unpleated inside yoke.  I decided not to.  I ultimately concluded I'd done enough to make this garment any more different or unique. I blame myself for not picking a tissue weight fabric and missing the construction of this design element while I was 'studying.'  I do like the top, though.  The fabric feels sooo good, and I like the added color detail because it's slimming.  I have made written notes all over the pattern instructions in case I try it again to remind myself to use my alternate solution for finishing the neckline.  Moving on....  Here are some final garment pictures. 


Front


Back


Time to share......I went to the Pacific International Quilt Festival XX at the Santa Clara Convention Center this past weekend.  What fun!    Now, I'm not much of a quilter, specifically....but I do admit loving to be around creative energy, and am always awed by the meticulous handwork of women (and more and more men) world-wide.  This is the largest quilt festival on the west coast, and is the gathering place for enthusiasts from all over.  The adjacent hotel is filled ladies dragging rolling carts flashing credit cards used exclusively for this four-day annual event.  I was with a good girlfriend of mine who has similar creative interests (quilts and purses/totes) so, we were able to leisurely stroll every aisle and look for new products and notions in addition to admiring hundreds of quilts.  We stayed all day...dragged our old legs home after walking that cement floor all day!  .... Loved It

...Remember, just keep sewing!
                               one stitch at a time....

Monday, October 3, 2011

All It Took....

Wow!  You came back to see what happened?!  Thank you so much!

Well, I've completed the Issey Miyake jacket and am anxious to show you the winning buttons and my next project.  Ummm.....let me see, where were we???.....Oh, yeah....Wasn't it here?...

I love my Singer automatic buttonholer!
 Here you see my trusty Singer buttonholer making one of the five buttonholes on the collar.  Both layers of the collar were handled as one, and adding a piece of tear-away stabilizer kept everything in line.  Doing these buttonholes and sewing on the buttons took an hour or so...no time at all.

What will surprise you if you make this jacket?  I was surprised to find that this jacket has what the instructions call a gusset under the sleeves.  I had no previous experience with this type of gusset, and wondered why the designer would choose to use it here.  Now, as I give the jacket its final press, I understand the function of this design choice.  As I smooth the jacket on the dress form, I notice the kimono sleeve falls smoothly from the dropped shoulder because it is supported by the gusset and undersleeve and there is no underarm pinch visible when the arm is moved. 
I was also surprised there is a tie belt in the back.  I'm not a 'tie-belt-in-the-back' kinda girl.  I am old enough to have lived when girls of elementary school age were required to wear dresses to school.  And, at the time, almost every little girl's dress had waist ties which were secured in a big bow just before you left for school.  I always managed to come home with one torn and scraggly tie hanging from a rip at the side seam or (at minimum,) left dragging loose in the dust behind me--the bow a distant morning memory.  I always got in trouble for this and seeing them brings back my mother's disappointment (once again) in my wardrobe malfunction and proof of some unladylike activity. 
So. as an adult, when the patterns I select have ties in the back, I usually omit them.  I used them in this case because the boxy style of the jacket needs some waistline shaping.  I also confess I may have selected the wrong interfacing, and wish I had selected a softer one to use at the cuff and hemline.  The interfacing used on the front facings is fine being stiffer or crisper, but the sharpness is not needed any other place, so I wish I had substituted a different one. 


So...here is the finished product.--------------'>'
I apologize for the poor-quality pictures.  The browns and oranges are so much more vivid than they appear here.  I'm getting better and better at taking them, so bear with me pleeze...:) 

What button did I use?  I totaled all the votes received before midnight Sunday, and the winner is.........


Four-hole 3/8" shell
button
The tiny speckled shell button is the one selected by a majority of votes.......;)   I sewed the button over a round toothpick and wound thread between the fabric and button back to create the lift I wanted to avoid any pull or imprint on the fabric surface.

Jacket Back with Tie Belt

Lining and Welt Pockets
 I pulled a little of the pocket lining out of the pocket on the left so you could see the welt positioning.  They turned out really well in spite of me not doing any for a while.
And, my label at the back of the neck....the signal of the project coming to its conclusion.  I won't be making the pants included in this pattern, but I have several pairs of linen pants (i.e., white, ivory, copper-colored) that will coordinate well so I can wear it into California's fall weather. 
I'll get better at explaining myself and documenting my work without making my posts picture heavy.  Leave me a message if there's anything I can describe in more detail or clarify. Thanks for going with me!

*****

Next, I'll be sharing how the top mentioned in my first blog turned out (Donna Karan Vogue 1039).  This top was the last garment begun without knowing anything about a Full Bust Adjustment (FBA)---which I found out was one of the first things I need to make.  I was taking a sewing class at the local junior college and at the time, this top was what I was working on in my personal life.  It won't have that FBA, but I'll share the process of sewing the last garment cut out in a larger size to accomodate the alteration.  I'm happy that I now know much more about the pattern-making and altering process and can make accurate changes in garment design that work for my body.  It has also helped me incorporate different construction techniques (couture or manufacturing) into my projects.  I'll show you what I mean when we discuss this design.  I'll need your opinion on some things, too....so, don't forget to check back.  I looovvvve company......!

Til then....
Keep going!...one stitch at a time....