Wow! You came back to see what happened?! Thank you so much!
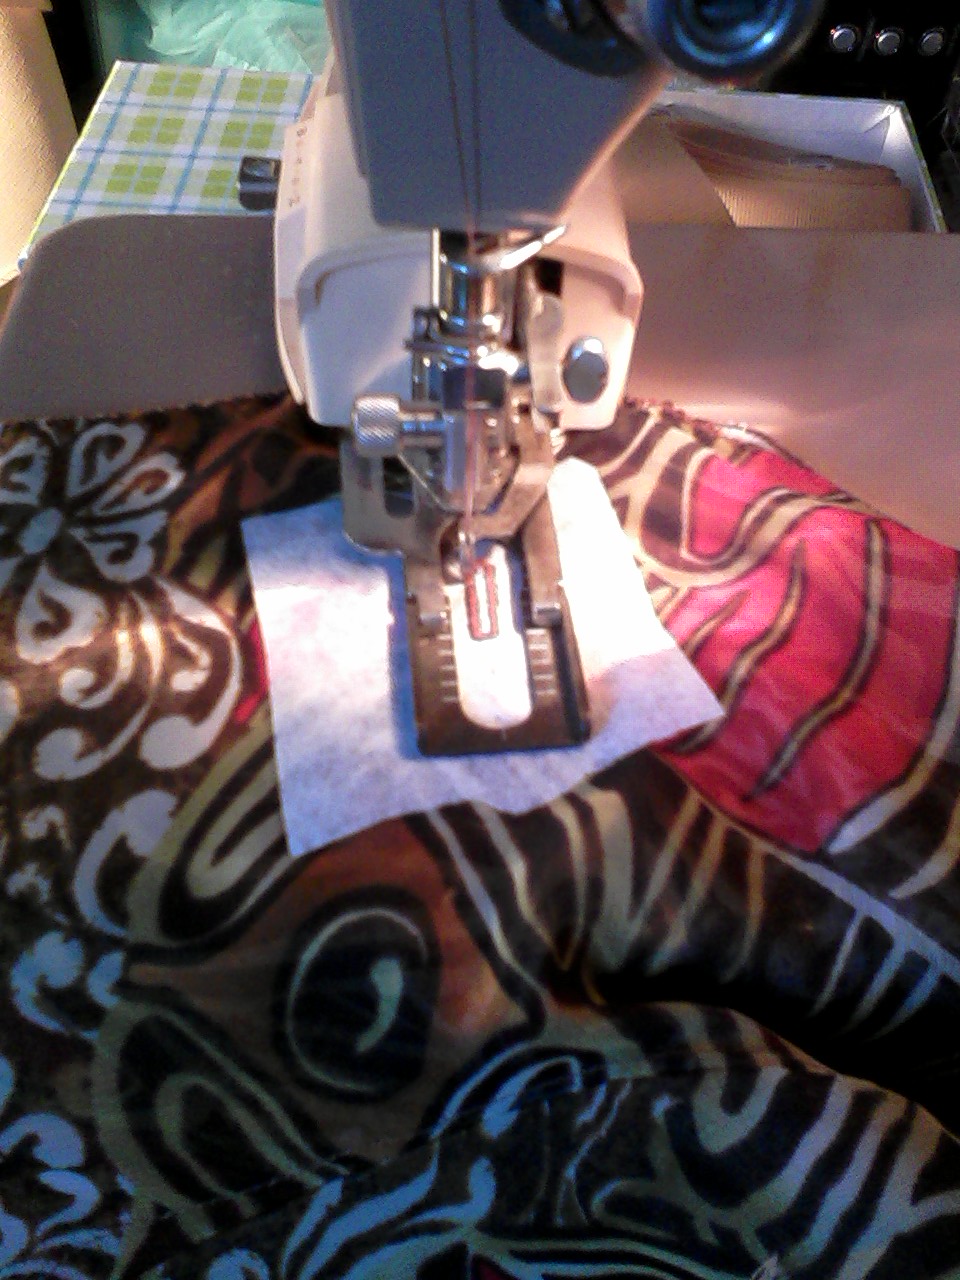 |
| I love my Singer automatic buttonholer! |
What will surprise you if you make this jacket? I was surprised to find that this jacket has what the instructions call a gusset under the sleeves. I had no previous experience with this type of gusset, and wondered why the designer would choose to use it here. Now, as I give the jacket its final press, I understand the function of this design choice. As I smooth the jacket on the dress form, I notice the kimono sleeve falls smoothly from the dropped shoulder because it is supported by the gusset and undersleeve and there is no underarm pinch visible when the arm is moved.
I was also surprised there is a tie belt in the back. I'm not a 'tie-belt-in-the-back' kinda girl. I am old enough to have lived when girls of elementary school age were required to wear dresses to school. And, at the time, almost every little girl's dress had waist ties which were secured in a big bow just before you left for school. I always managed to come home with one torn and scraggly tie hanging from a rip at the side seam or (at minimum,) left dragging loose in the dust behind me--the bow a distant morning memory. I always got in trouble for this and seeing them brings back my mother's disappointment (once again) in my wardrobe malfunction and proof of some unladylike activity.
So. as an adult, when the patterns I select have ties in the back, I usually omit them. I used them in this case because the boxy style of the jacket needs some waistline shaping. I also confess I may have selected the wrong interfacing, and wish I had selected a softer one to use at the cuff and hemline. The interfacing used on the front facings is fine being stiffer or crisper, but the sharpness is not needed any other place, so I wish I had substituted a different one.

So...here is the finished product.--------------'>'
I apologize for the poor-quality pictures. The browns and oranges are so much more vivid than they appear here. I'm getting better and better at taking them, so bear with me pleeze...:)
What button did I use? I totaled all the votes received before midnight Sunday, and the winner is.........
 |
| Four-hole 3/8" shell button |
The tiny speckled shell button is the one selected by a majority of votes.......;) I sewed the button over a round toothpick and wound thread between the fabric and button back to create the lift I wanted to avoid any pull or imprint on the fabric surface.
 |
| Jacket Back with Tie Belt |
I pulled a little of the pocket lining out of the pocket on the left so you could see the welt positioning. They turned out really well in spite of me not doing any for a while.
And, my label at the back of the neck....the signal of the project coming to its conclusion. I won't be making the pants included in this pattern, but I have several pairs of linen pants (i.e., white, ivory, copper-colored) that will coordinate well so I can wear it into California's fall weather.
I'll get better at explaining myself and documenting my work without making my posts picture heavy. Leave me a message if there's anything I can describe in more detail or clarify. Thanks for going with me!
 |
| Lining and Welt Pockets |
And, my label at the back of the neck....the signal of the project coming to its conclusion. I won't be making the pants included in this pattern, but I have several pairs of linen pants (i.e., white, ivory, copper-colored) that will coordinate well so I can wear it into California's fall weather.
I'll get better at explaining myself and documenting my work without making my posts picture heavy. Leave me a message if there's anything I can describe in more detail or clarify. Thanks for going with me!
*****

Next, I'll be sharing how the top mentioned in my first blog turned out (Donna Karan Vogue 1039). This top was the last garment begun without knowing anything about a Full Bust Adjustment (FBA)---which I found out was one of the first things I need to make. I was taking a sewing class at the local junior college and at the time, this top was what I was working on in my personal life. It won't have that FBA, but I'll share the process of sewing the last garment cut out in a larger size to accomodate the alteration. I'm happy that I now know much more about the pattern-making and altering process and can make accurate changes in garment design that work for my body. It has also helped me incorporate different construction techniques (couture or manufacturing) into my projects. I'll show you what I mean when we discuss this design. I'll need your opinion on some things, too....so, don't forget to check back. I looovvvve company......!
Til then....
Keep going!...one stitch at a time....

